How to Deploy an ERC721 NFT Contract
This guide will walk you through deploying an ERC 721 token contract using the Remix IDE. You can use this ERC721 token in our NFT reward app to incentivize your users to participate in your campaign.
What You Will Need
- A Web3 Wallet (eg. Metamask, Phantom or any Wallet Connect enabled wallet)
- Test Ether (ETH) to deploy the contract
- Access to a modern web browser (eg Brave, Chrome, Firefox)
Why an ERC721 NFT Reward?
NFTs are inherently unique and non-fungible, making them ideal for creating digital collectibles, art, and other unique assets. You can consider them as digital certificates of ownership for unique items, with each NFT representing a specific metadata and asset.
Steps to Deploy an ERC721 Contract
Step 1: Getting Testnet ETH
You will need testnet ETH to deploy the contract. We are using the Sepolia testnet (opens in a new tab) in this guide. You can get testnet ETH from the Sepolia faucet here (opens in a new tab).
If you don't have Sepolia testnet enabled in your wallet, you can add it here (opens in a new tab).
Step 2: Configuring Metadata for the NFT
Before deploying the contract, you will need to add the metadata for your NFTs to IPFS. You can use the Pinata (opens in a new tab) or Infura (opens in a new tab) IPFS services to upload your metadata files.
The metadata should be in JSON format. This JSON file needs to have information about the NFT such as the name, description, image, and other attributes. In order to make sure that the metadata is compatible with most NFT marketplaces, we will follow the OpenSea standard (opens in a new tab).
Here is an example of what the metadata file might look like:
{
  "name": "Sample NFT",
  "tokenId": 0,
  "image": "https://gateway.pinata.cloud/ipfs/Qmb9WSGE66AJyYpggnxWPvmgH/0.png",
  "description": "This is a sample description."
}You can use any text editor to create this file. Save the file with a .json extension.
Step 3: Uploading Files to Pinata
- Go to the Pinata (opens in a new tab) website and create an account.

- Click on the "Add" button to upload your NFT image. Let's say the image is named
bandit.png.

- Take note of the CID that is generated after uploading the file. We will use this in the metadata file.

- For the image URL in the metadata file, replace the image in the URL with the one you generated in step 3 and save the metadata file.
{
  "name": "Bandit - Build. Grow. Measure.",
  "image": "https://gateway.pinata.cloud/ipfs/QmegAAqAZ7tZJRH5M4LTerE8NsGDxw4TaKWFv1r8VzqdWQ", // Replace this with your CID
  "description": "Bandit Network is a Web3 native platform that provides companies a core web3 experience of creation, management, integration of campaigns into white  labelled quest platforms with the use of tailored toolkits."
}- Now upload the metadata file to Pinata and take note of the CID generated for this file as well. We will use this CID when in our NFT contract.

Step 4: Writing and Deploying the Smart Contract
There are many ways to write an ERC721 contract. For this guide, we will use the Remix IDE. You can access the Remix IDE here (opens in a new tab).
Contract logic can vary depending on your use case. We will be using the following contract for this guide. You can copy and paste this code into the Remix IDE:
// SPDX-License-Identifier: MIT
pragma solidity ^0.8.20;

import "@openzeppelin/contracts/token/ERC721/ERC721.sol";
import "@openzeppelin/contracts/token/ERC721/extensions/ERC721URIStorage.sol";
import "@openzeppelin/contracts/token/ERC721/extensions/ERC721Burnable.sol";
import "@openzeppelin/contracts/access/AccessControl.sol";

/**
 * @title SampleNFT
 * @dev An ERC721 token contract with role-based access control for minting and fixed IPFS URI.
 */
contract SampleNFT is ERC721, ERC721URIStorage, ERC721Burnable, AccessControl {
    bytes32 public constant MINTER_ROLE = keccak256("MINTER_ROLE");

    uint256 private _nextTokenId;

    string private constant TOKEN_URI = "https://ipfs.io/ipfs/QmNi4mQsKQcLxhKkkk6g5aSgV5y3kzKKNg8cF7QRKfh7Ei"; // Replace this with your CID

    constructor(address initialAdmin, address initialMinter)
        ERC721("SampleNFT", "SNFT")
    {
        _grantRole(DEFAULT_ADMIN_ROLE, initialAdmin);
        _grantRole(MINTER_ROLE, initialMinter);
    }

    function safeMint(address to) public onlyRole(MINTER_ROLE) {
        uint256 tokenId = _nextTokenId++;
        _safeMint(to, tokenId);
        _setTokenURI(tokenId, TOKEN_URI);
    }

    function mint(address account, uint256 amount, bytes memory data) public onlyRole(MINTER_ROLE) {
        for(uint256 i; i < amount; ++i) {
            uint256 tokenId = _nextTokenId++;
            _mint(account, tokenId);
            _setTokenURI(tokenId, TOKEN_URI);
        }
        if (data.length > 0) {
            emit BatchMintWithData(account, amount, data);
        }
    }

    // Event to log batch minting with additional data
    event BatchMintWithData(address indexed to, uint256 amount, bytes data);

    // The following functions are overrides required by Solidity.

    function tokenURI(uint256 tokenId)
        public
        view
        override(ERC721, ERC721URIStorage)
        returns (string memory)
    {
        return super.tokenURI(tokenId);
    }

    function supportsInterface(bytes4 interfaceId)
        public
        view
        override(ERC721, ERC721URIStorage, AccessControl)
        returns (bool)
    {
        return super.supportsInterface(interfaceId);
    }
}-
Replace the
TOKEN_URIwith the CID of the metadata file you uploaded to Pinata in step 3. -
In remix, select the compiler version based on the version of the contract you are using. You can compile the contract by clicking on the "Compile" tab and then click on the "Compile SampleNFT.sol" button.

- Once the contract is compiled, you can deploy it using Injected Provider. Make sure you are connected to the Sepolia testnet in your wallet. Paste your wallet addres in INITIALADMIN and our reward distributor address: 0x8e5C6ED48bB51dB26538160712321b90F535F80b (change this based on the network you are deploying the contract on) in the INITIALMINTER field. Then click on the "transact" button.
Reward Distributor Address: Our reward distributor address mints and transfers the NFT reward you have setup in our ERC721 Reward App. It needs to be added as a minter in the contract.
The following table shows the distributor addresses you would need to use based on the network you are deploying the contract on:
| Blockchain | Reward Distributor Address |
|---|---|
| Holesky | 0x8e5C6ED48bB51dB26538160712321b90F535F80b |
| Dojima Testnet | 0xE8D75b895bcAFDB67A6406B903dd6968dAB5d459 |
| Arthera Testnet | 0x97Cbe9e8189a468DdEc65639bDA897ac7e94e8B0 |
| Arthera Mainnet | 0xf7A3bD044caC063a3245332879109CE2d99E63DD |
| Binance Smart Chain | 0xE22Ec9D2e3B74eEab498a46f20D352E5350bd864 |
| Polygon Mainnet | 0x3329c686DF899dFC4d1Ea3e8ACcceB187b3973d0 |
| Base Mainnet | 0xE8D75b895bcAFDB67A6406B903dd6968dAB5d459 |
| Dione Testnet | 0xdb2A515259cb1819760725B9f09f797569ce3C65 |
| Dione Mainnet | 0xdb2A515259cb1819760725B9f09f797569ce3C65 |

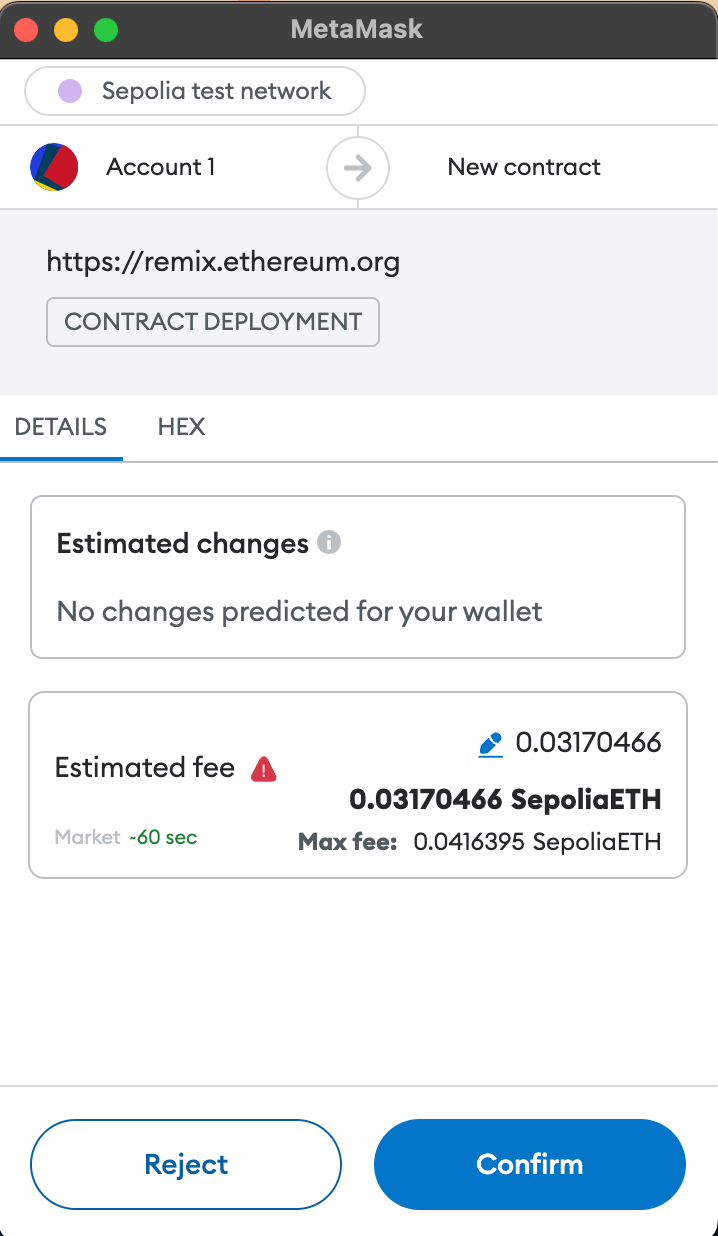
- Confirm the transaction in your wallet and wait for the contract to be deployed.
- Now go to the "Deployed Contracts" tab in Remix and you will see your deployed contract and a bunch of functions that you can interact with.

You can interact with the contract using the functions provided in the Remix IDE. You can mint NFTs using the safeMint or batchMint functions.
Conclusion
You have successfully deployed an ERC721 contract using the Remix IDE. You can now use this contract in our ERC721 Reward App. The users who complete the campaign will receive the NFT reward you have set up in the contract.