ERC20 Rewards
The ERC20 reward app allows you to set up rewards that are fungible tokens on BSC and Polygon chains.
Step 1: Create a new campaign
Create a new campaign: Start by creating a new campaign. Refer this guide to learn how to launch a new campaign: Create and launch a Campaign.
Step 2: Add an action app of your choice
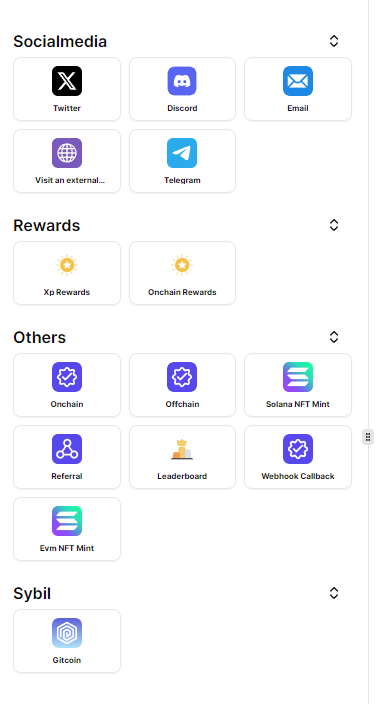
You can view all the available apps on the left panel. Choose the app you'd like to add as an action in your campaign and configure it as needed in the right panel. For this guide, we'll be using the Visit website action app.

Step 3: Add the ERC20 reward app
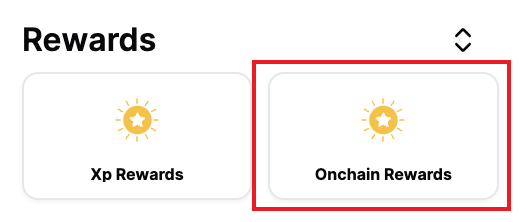
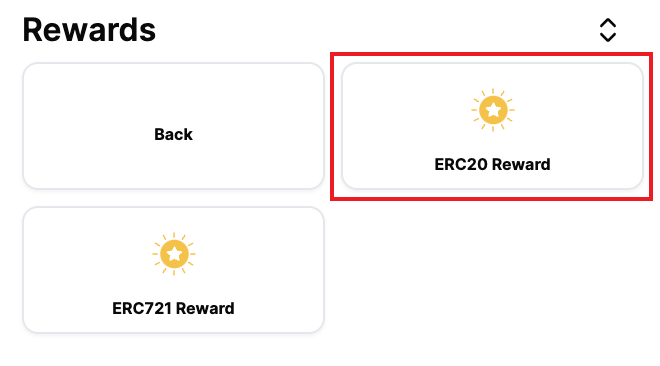
For completing the action you've set up in step 2, you can now assign ERC20 rewards to users. To do this, click on the Rewards section and choose the ERC20 reward app.


Step 4: Configure the ERC20 rewards
We have a extensive easy to follow guide on how to deploy an ERC20 token contract. You can refer it here: Deploy an ERC20 token contract.
In the right panel, you can configure the ERC20 rewards as needed.

Chain
Select the chain on which you want to deploy the ERC20 rewards. Note: We can add more chains based on request.
Contract Address
Enter the contract address of the deployed ERC20 token. All native ERC20 tokens are supported.
Approval to the reward distributor address is required to transfer tokens. Our Reward distributor addresses are different for each chain. You can find more details here: ERC20 Reward Distributor Address.
Note: If the approval to the reward distributor address is revoked, the rewards will not be transferred.
Token Vault Address
The vault address can be a user wallet or a multisig account. The vault refers to the account that holds the reward funds.
Token Quantity
Enter the number of tokens you want to reward. The number of tokens should be in the smalles unit of the token. For example, if the token has 2 decimals, and you wish to give 1 token, you should enter 100. Similarly for 25 tokens, you should enter 2500.
Managing ERC20 rewards across multiple campaigns
When implementing ERC20 rewards across multiple campaigns, it's crucial to understand that having a unique vault address for each campaign is safer and more efficient.
After deployment, regardless of which address initially received the tokens, you can:
- Transfer tokens to any other address using the
transferfunction. - Approve other addresses to spend tokens on behalf of the token holder using the
approvefunction. - Set up multiple addresses with different token balances for various purposes or campaigns.
Each campaign can have a unique vault address. This practice enhances security, improves fund segregation, and allows for better tracking and management of rewards for individual campaigns.
By adhering to these restrictions, you ensure better security, improved fund segregation, and more efficient management of ERC20 rewards across various campaigns.
Step 5: Add dependency to the action app
To ensure that the ERC20 rewards are only given when the action is completed, you need to add a dependency to the action app.

Step 6: Save and deploy the campaign
Once you've configured the ERC20 rewards, click on the Save changes button to deploy the campaign.