Dynamic XP Points
The dynamic XP point reward app allows you to setup rewards that can be customized based on your campaign requirements.
For example, you can set up rewards that increase over time, or decrease over time, or rewards that are based on the user's activity.
Step 1: Create a new campaign
Create a new campaign: Start by creating a new campaign. Refer this guide to learn how to launch a new campaign: Create and launch a Campaign.
Step 2: Add an action app of your choice
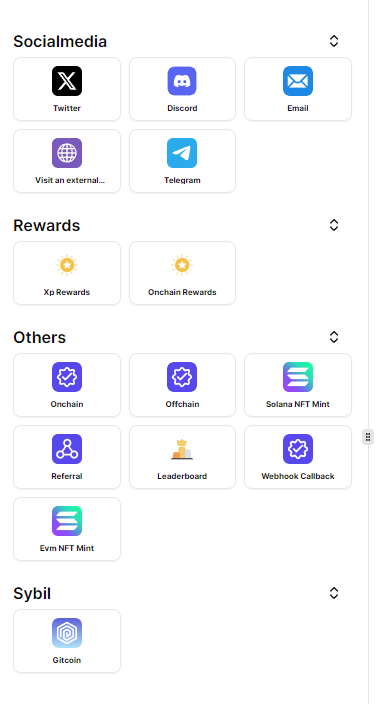
You can view all the available apps on the left panel. Choose the app you'd like to add as an action in your campaign and configure it as needed in the right panel. For this guide, we'll be using the Visit website action app.
Step 3: Add the Dynamic XP points app
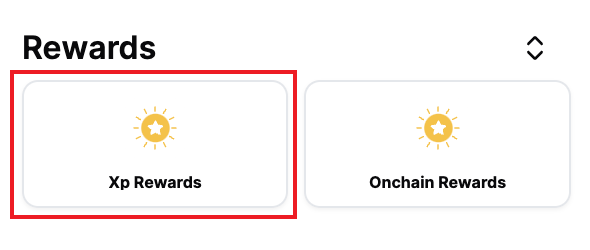
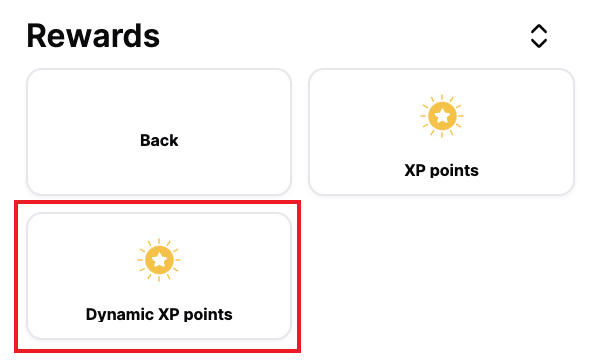
For completing the action you've set up in step 2, you can now assign dynamic XP points to users. To do this, click on the XP Rewards in the Rewards section and choose the Dynamic XP points app.
Step 4: Configure the Dynamic XP points
In the right panel, you can configure the dynamic points as needed.
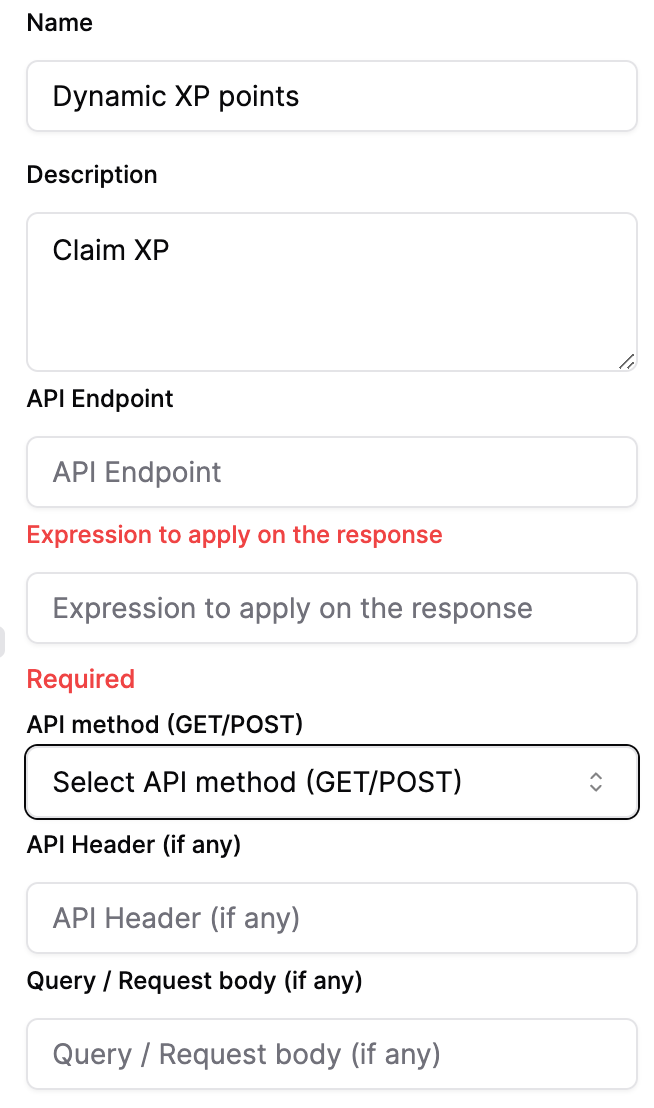
Here are some sample arguments for setting up dynamic rewards:
-
Endpoint: This should be the URL where the request will be sent. It can be in one of the following formats:
https://domain.com/{WALLET_ADDRESS}/user_reward/https://domain.com/user_reward?wallet_address={WALLET_ADDRESS}
-
Expression: If you need to apply any logic to the response data you can define an expression.
Consider a scenario where the response represents the user's engagement on a platform and the points are divided into slabs. For instance, users with an engagement score below 100 get 10 points, those with a score between 100 and 250 get 25 points, and those with a score above 250 get 50 points.
Suppose the API responds with the engagement value as follows:
{
   "user_id": "abc",
   "engagement": 220
}
The expression to calculate the points would be:
function(response) {
    if (response.engagement < 100) {
        return 10;
    } else if (response.engagement >= 100 && response.engagement < 250) {
        return 25;
    } else if (response.engagement >= 250) {
        return 50;
    }
    return 0;
}
In another scenario, if the API returns the points that the user has gained, like so:
{
   "user_id": "abc",
   "pointsGained": 20,
}-
Method: This can be either GET or POST.
-
Headers: These should be in the format
header1:value1,header2:value2. For example:x-api-secret: abcdef123, x-api-access: abcdef123. -
Query / Request Body: This should be in the format
body1:value1,body2:value2. For example:user_id: abc123, wallet_address: {WALLET_ADDRESS}.
For the GET method, the request would be processed as {endpoint}?user_id=abc123&wallet_address={WALLET_ADDRESS}.
For the POST method, the request would be processed as:
{
   "user_id": "abc123",
   "wallet_address": "{WALLET_ADDRESS}"
}
Step 5: Save and launch the campaign
Once you've configured the dynamic points, click on the Save changes button to launch campaign.