Webhook App
The Bandit Webhook Event App allows you to handle events in your campaign by sending them to a specified API endpoint. This guide will walk you through the process of setting up the Bandit Webhook Event App in your campaign.
Step 1: Create a new campaign
Create a new campaign: Start by creating a new campaign. Refer this guide to learn how to launch a new campaign: Create and launch a Campaign.
Step 2: Add any action app of your choice
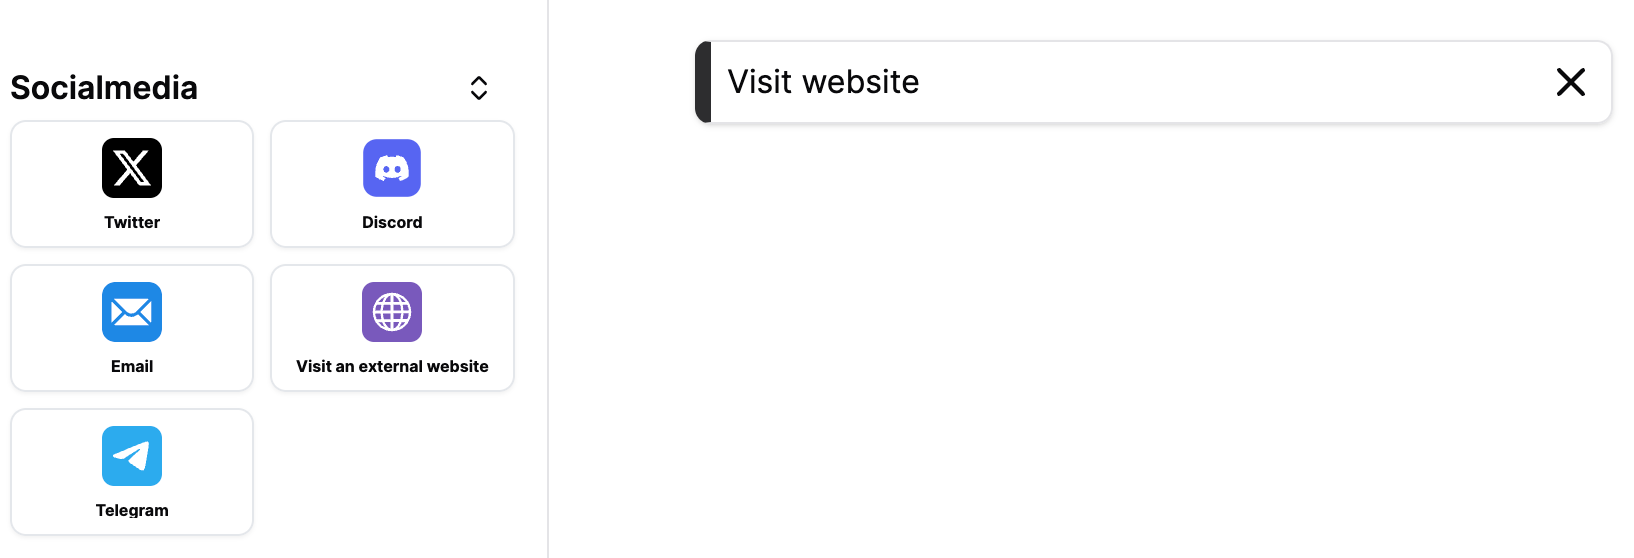
You can view all the available apps on the left panel. Choose the app you'd like to add as an action in your campaign and configure it as needed in the right panel.
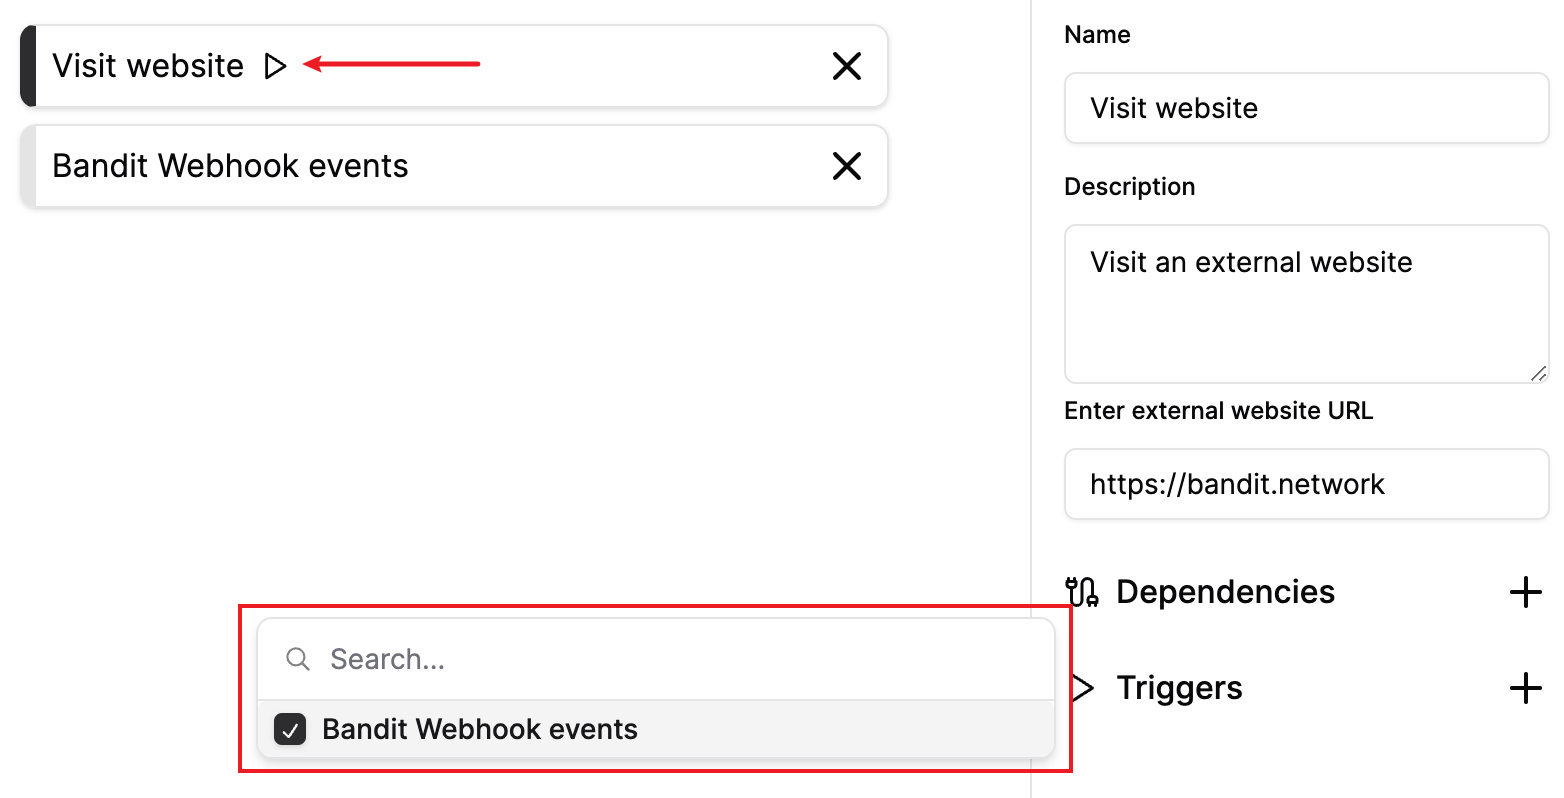
For this guide, we'll be using the Visit website action app.
Step 3: Add the Bandit Webhook Event app
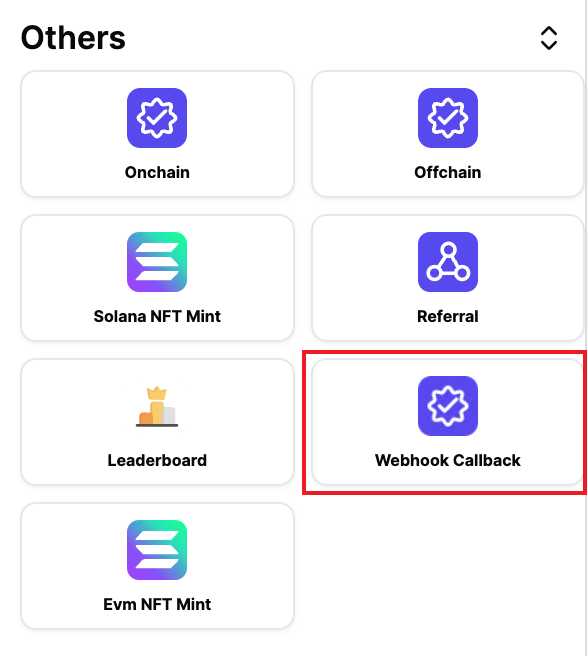
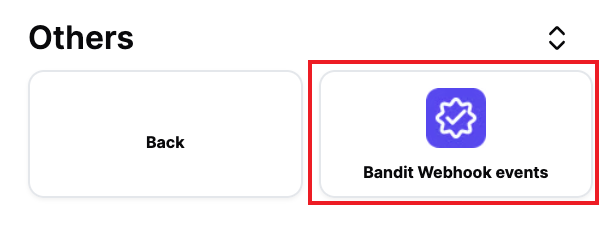
For completing the action you've set up in step 2, you can now send the event data to a specified API endpoint. To do this, click on the Events section and choose the Bandit Webhook Event app.
Step 4: Configure the Bandit Webhook Event app
In the right panel, you can configure the Bandit Webhook Event app as needed.
Add an API endpoint where you want to receive the event data. For this guide we'll be using an API endpoint from pipedream (opens in a new tab).
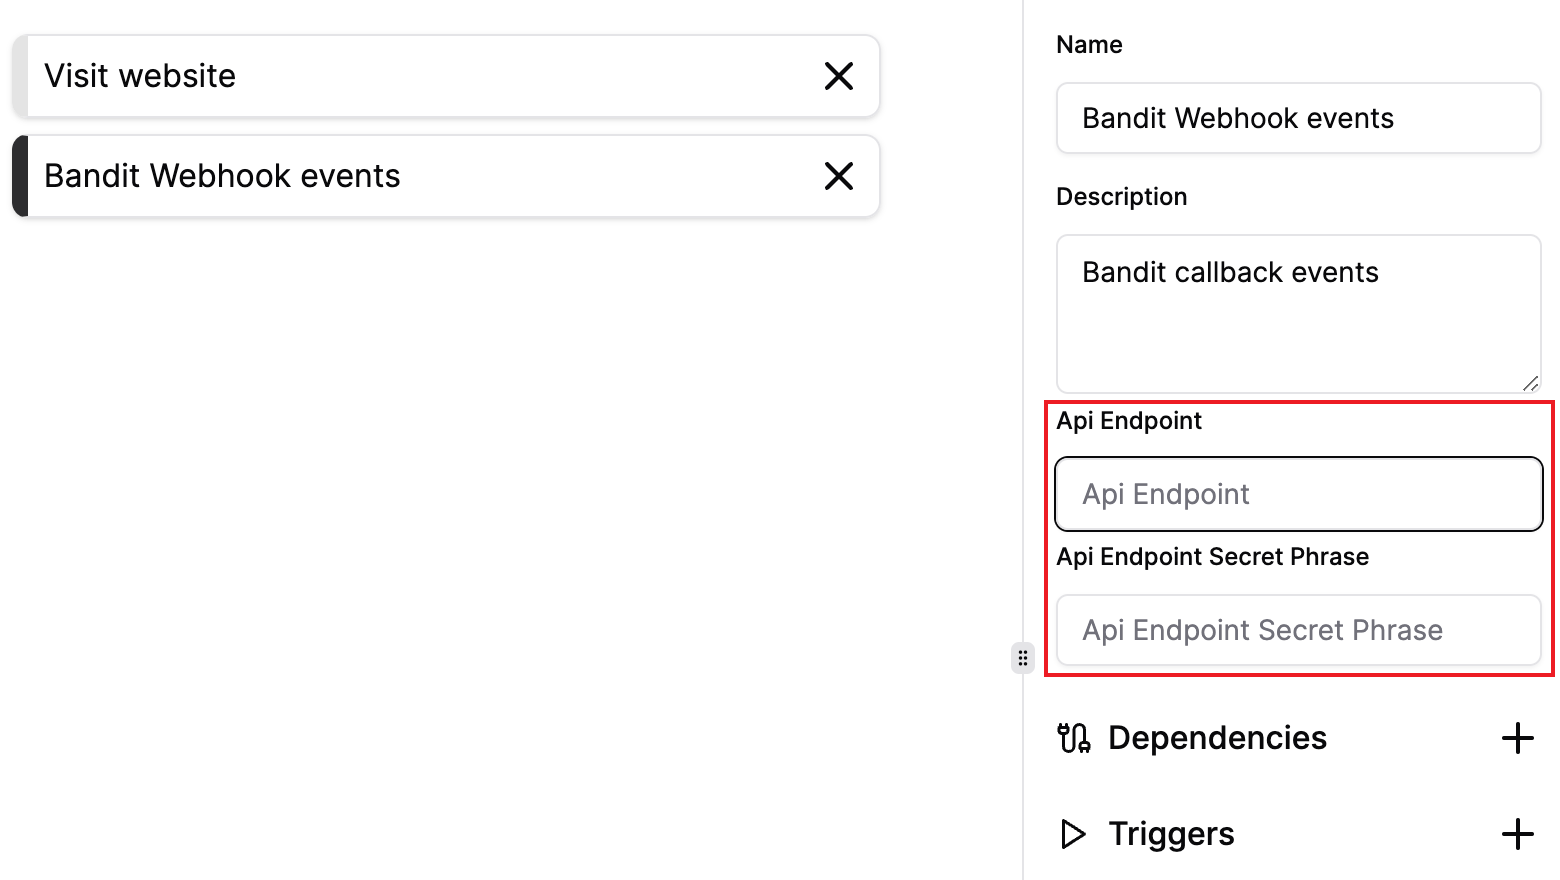
API Endpoint
In the API Endpoint field, enter the URL of the API endpoint where you want to receive the event data.
For example: https://gueyewo282d.m.pipedream.net
API Endpoint Secret Phrase
In the API Endpoint Secret Phrase field, enter the secret phrase that you want to use to authenticate the event data.
For example: tripsy
Step 5: Add trigger on the action app
To ensure that the event data is sent to the API endpoint when the action is completed, you need to add a webhook trigger to the action app.
Step 6: Receive event data on the API endpoint
Once you've configured the Bandit Webhook Event app, you can now receive the event data on the specified API endpoint.
This is an example of the body of the response that you will receive on the API endpoint:
{
  "userWalletAddress": "0x48e4e5d486281a1ab2efbc02ed1a0618a062e465",
  "campaignId": 389,
  "performedAction": {
    "name": "Visit website",
    "description": "Visit an external website",
    "app": {
      "id": "VISIT_WEBSITE",
      "actionId": "VISIT_WEBSITE"
    },
    "id": "931f530515f74d05a9e00588552407e6",
    "args": [
      {
        "key": "websiteLink",
        "value": "https://bandit.network"
      }
    ],
    "dependencies": [],
    "triggers": [
      "7de5fc896f104e1294f90f9c33b4347c"
    ],
    "segmentId": "83248511260e4eebb57bf84704573349",
    "campaignId": 389,
    "isWorkingAsTrigger": false,
    "chainStats": {
      "totalSupply": 0,
      "maxSupply": 0,
      "address": "",
      "chainId": 0,
      "totalUniqueMinters": 0,
      "totalHourlyMinters": 0,
      "isMintable": false,
      "releaseDate": "0001-01-01T00:00:00Z",
      "contractType": "",
      "contractId": 0,
      "endDate": "0001-01-01T00:00:00Z"
    }
  },
  "userInputs": {
    "email": ""
  }
}
The API endpoint secret phrase will be used to authenticate the event data. This is how it will look in the header of the request:
{
  "host": "gueyewo282d.m.pipedream.net",
  "content-length": "749",
  "x-api-secret": "tripsy", // This is the secret phrase we set in the Bandit Webhook Event app
  "content-type": "application/json",
  "accept-encoding": "gzip",
  "user-agent": "Go-http-client/2.0"
}
Step 7: Save and deploy the campaign
Once you've configured the Bandit Webhook Event app, click on the Save changes button to deploy the campaign.
You have now successfully set up the Bandit Webhook Event app in your campaign. You can now receive event data on the specified API endpoint when the action is completed.